
INSTALLATION
ETERNA GEODECK INSTALLATION GUIDE
Follow these instructions to ensure correct installation and maximum system durability.
1 - Storage and acclimatisation of the planks
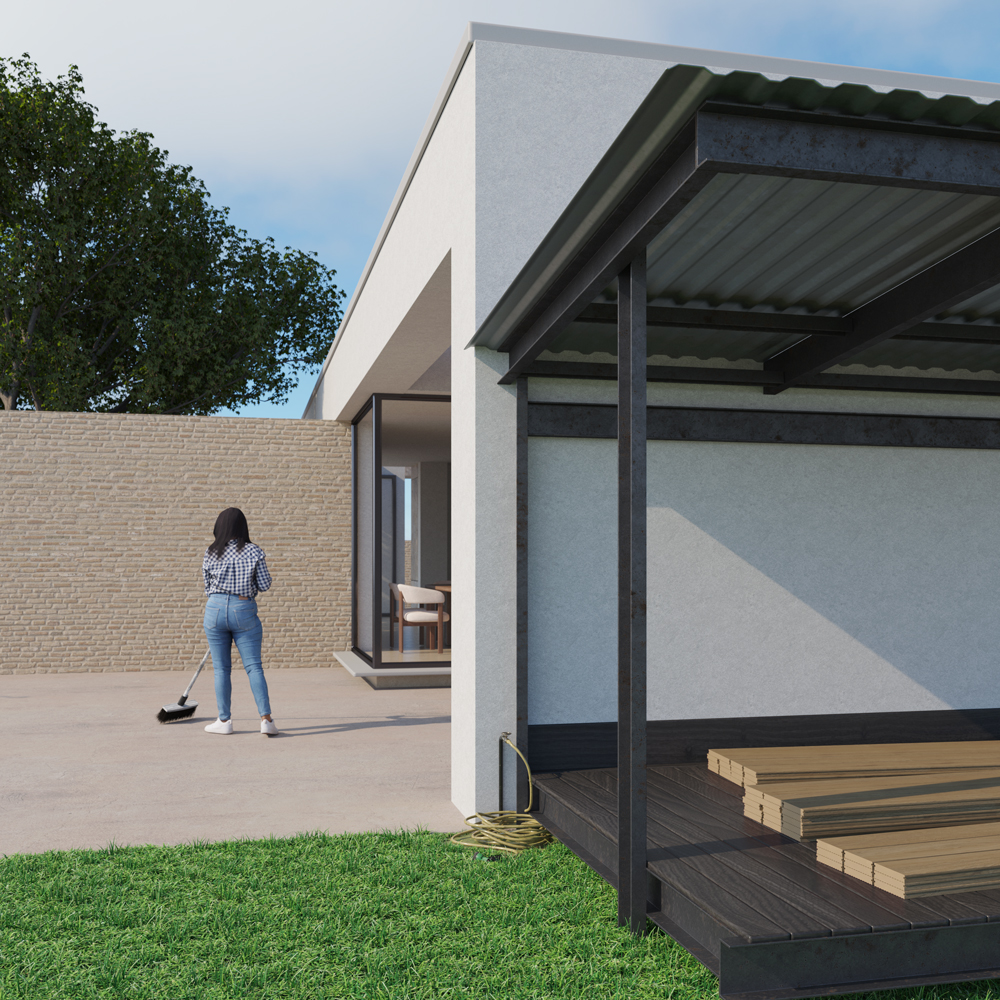
Planks must be stored on a completely flat, hard, stable surface, with uniform supports to prevent twisting or deformation.
Always store in dry, ventilated areas, protected from direct sunlight, avoiding condensation or sudden temperature variations.
Acclimatise the planks for at least 48 hours before installation in the same area where they will be installed.
Always handle planks horizontally—do not drag or bend them.
2 - Pre-planning
Proper planning ensures an attractive, stable, and long-lasting finish.
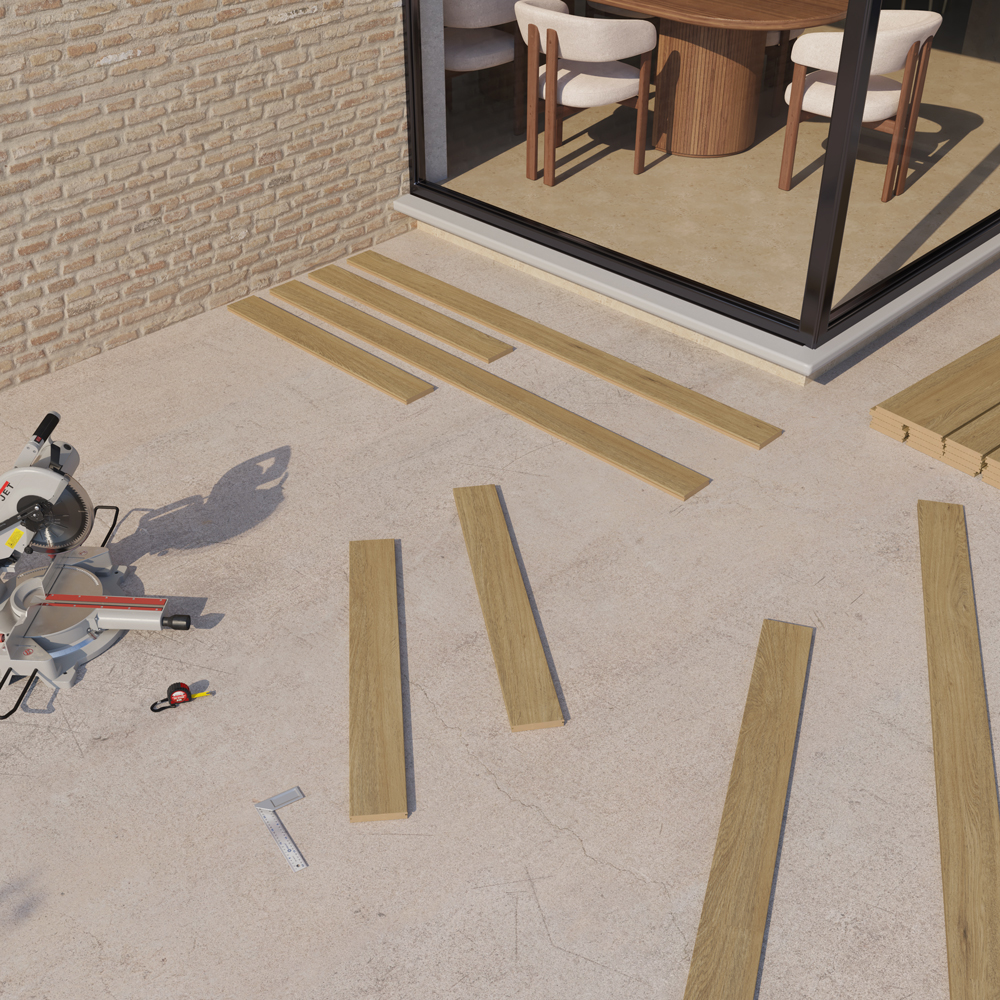
- Alternate lengths between rows to avoid aligning end joints.
Example: 2200 mm in one row and 1100 mm at the start of the next. - Dry-lay the planks before fixing them to visualise joints and cuts.
- Acclimatise the planks for 48 hours to prevent subsequent movement.
3 - Substrate and installation of joists
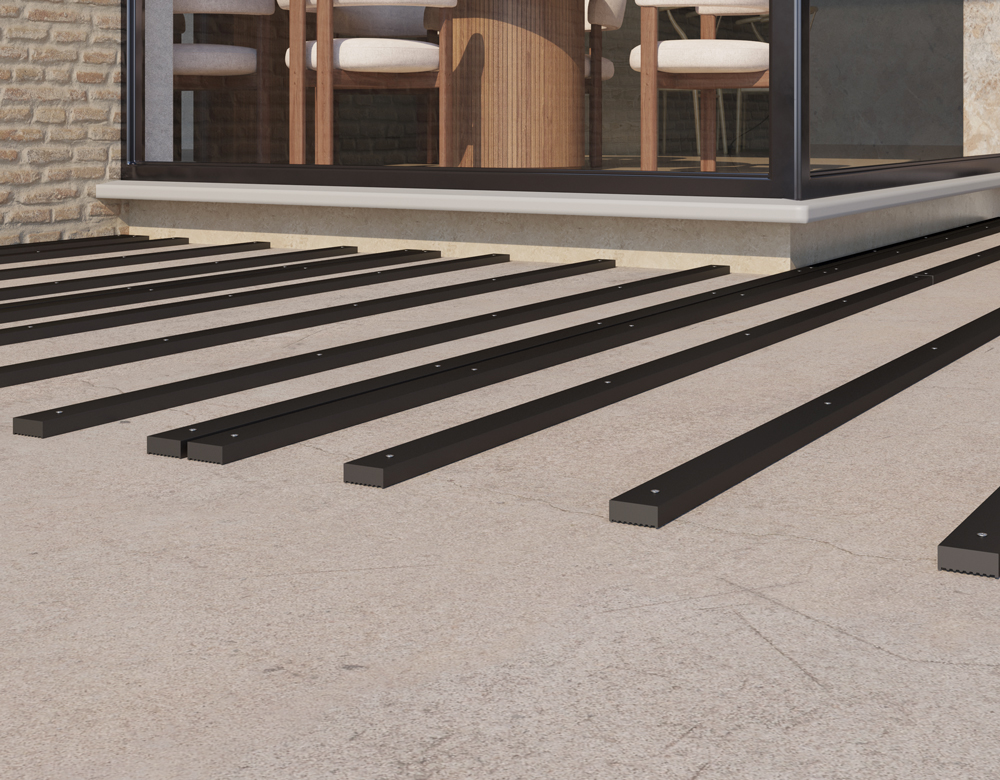
Maximum transverse spacing between joists: 30 cm centre-to-centre for residential use, and 25 cm centre-to-centre for commercial or high-traffic installations.
A 15 mm longitudinal gap between joists is recommended, as well as 15 mm between the first and last joist and any wall or fixed structure.
Joists must be laid on a hard, flat, stable surface to prevent deformation of the boards. For outdoor decking, it is essential to provide drainage for the joist-and-flooring assembly to prevent standing water from rain, irrigation, or cleaning. Therefore, a slope of 2% to 5% must be provided so water can drain towards drainage points.
The joist framework must always allow free water circulation to prevent accumulation. A 15 mm longitudinal gap between joists must also be left to facilitate proper drainage.
If installing over a concrete slab, apply a waterproofing layer beforehand.
The joists must be fixed to the substrate. To fix them to the floor, drill through the joist and the concrete and install an impact anchor that secures both.
We recommend Ø 8 × 80 mm impact anchors with an AISI 304 stainless-steel nail-screw, or AISI 316 in marine or very humid environments.
Alternatively, Ø 6 × 60 mm anchors may be used where the slab allows.
Where levelling results in a joist being raised and not fully supported on the slab or shims (e.g., more than 10–15 mm unsupported), use screw + plug instead of an impact anchor. In these cases, use a Ø 6 mm nylon plug (35–40 mm) together with an AISI 304/316 stainless screw Ø 5–6 mm × 70–80 mm, which allows the joist to be pressed against the shim for a more stable fix.
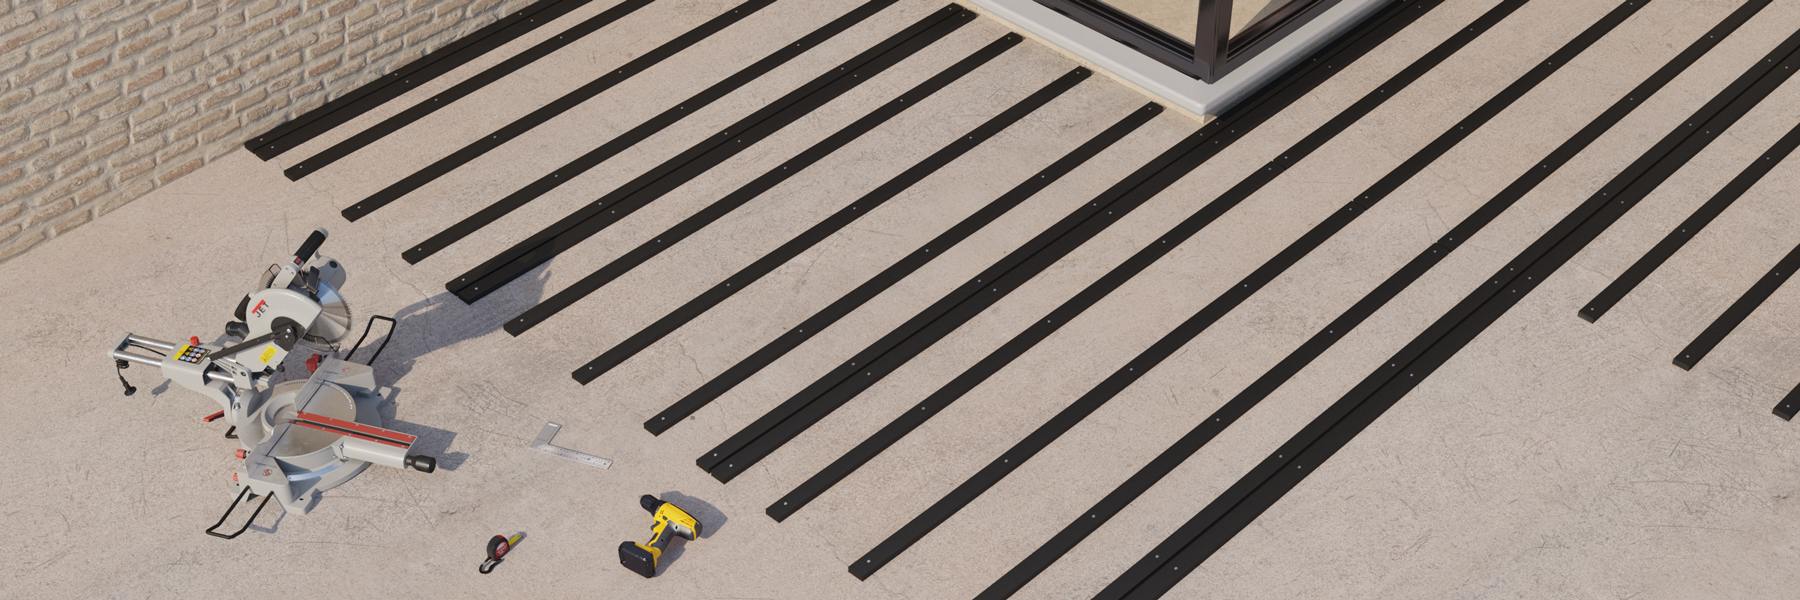
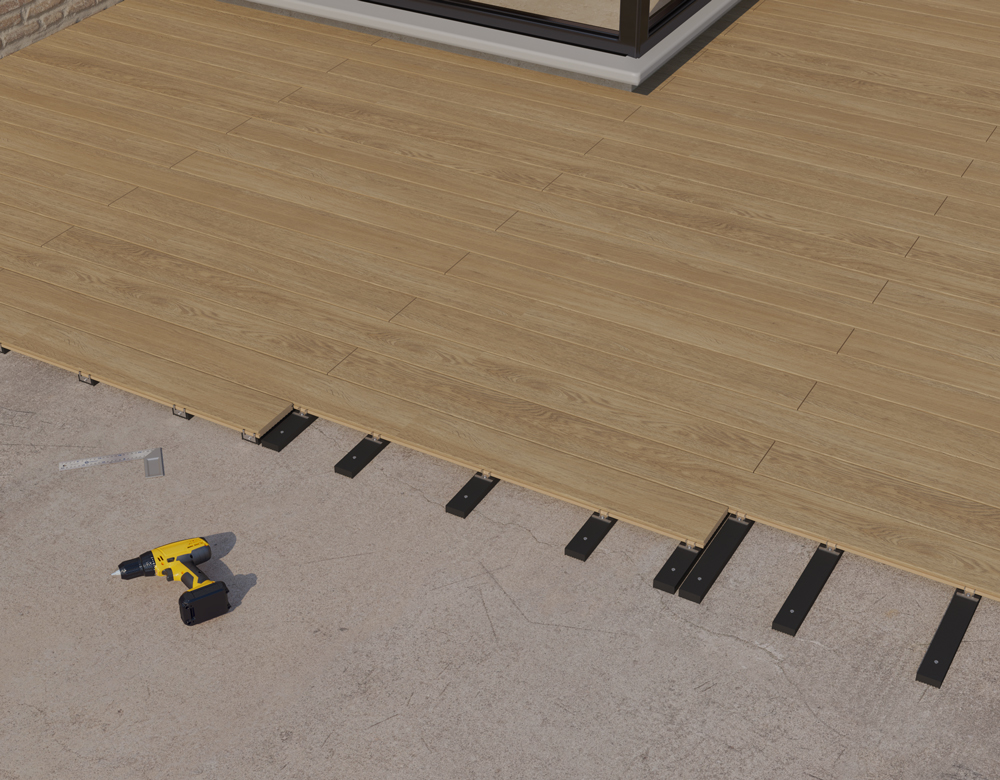
4 - Installing the planks on the joists
For the first plank, we recommend using a starter clip.
Do not forget: alternate lengths between rows (e.g., 2200 mm in one row, 1100 mm at the start of the next).

Longitudinal installation expansion gaps
Due to the material’s thermal expansion, it is essential to respect the longitudinal expansion gaps at the ends of each deck area, adjusting them according to the ambient temperature at the time of installation.
Recommended gaps:
• Installation temperature below 15 °C: leave 5 mm
• Installation temperature between 15 °C and 25 °C: leave 4 mm
• Installation temperature above 25 °C: leave 3 mm
These gaps must be maintained at the longitudinal terminations of the flooring (ends of each deck area) and are necessary to ensure correct behaviour under temperature variations, preventing stress or deformation.
Note: Across the width, the spacing between planks is defined by the clip system and machining, and is not adjustable on site.
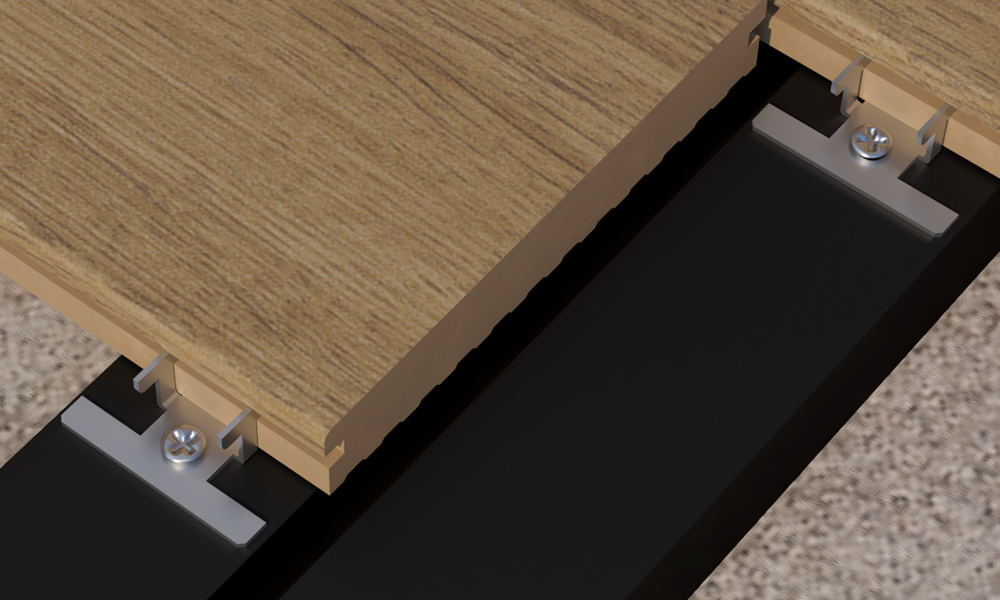
Always use AISI 304 stainless-steel screws, and AISI 316 in marine environments, using Ø 3.5 × 25 mm screws to fasten the clips.
Only the specific clips made to fit ETERNA GEODECK planks must be used, as their geometry is not compatible with standard clips. The use of non-original or non-approved clips will void the system warranty.
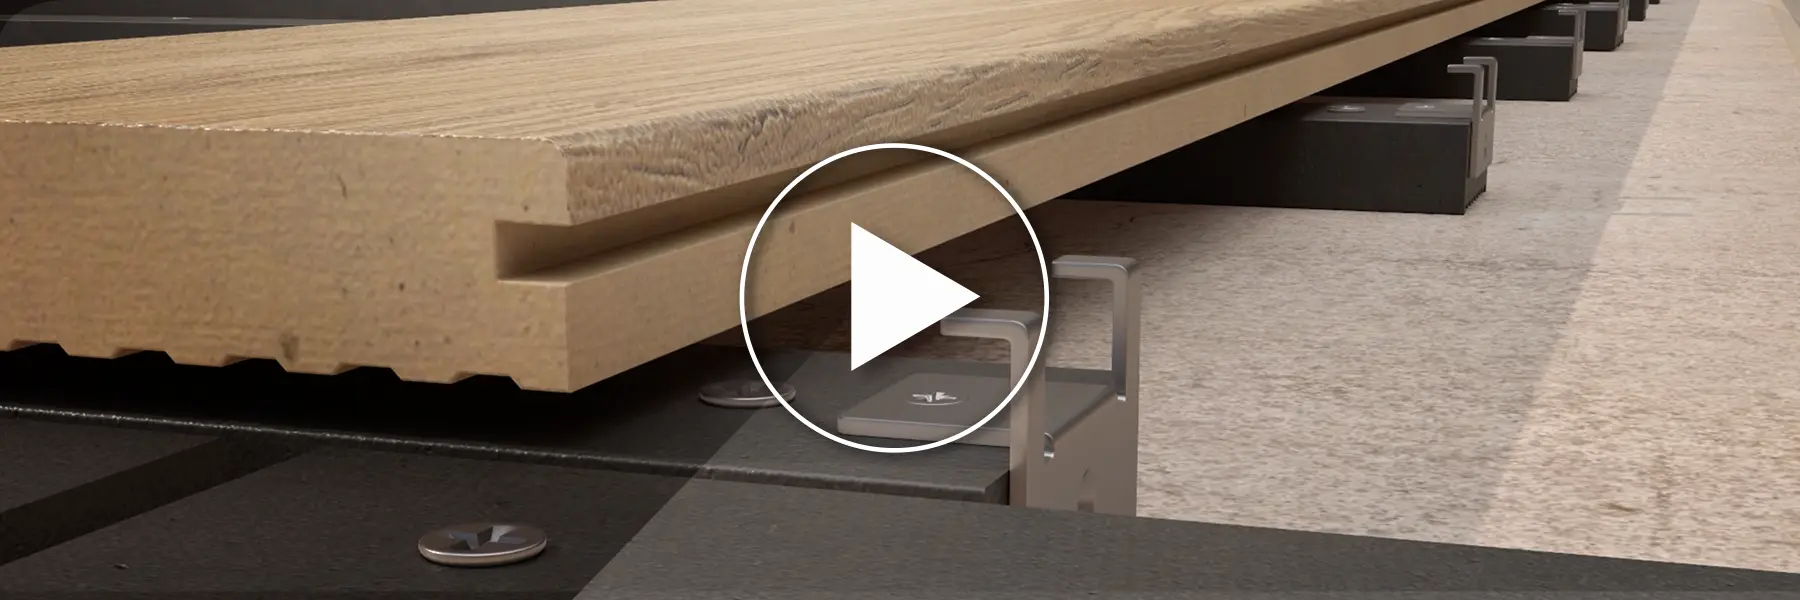
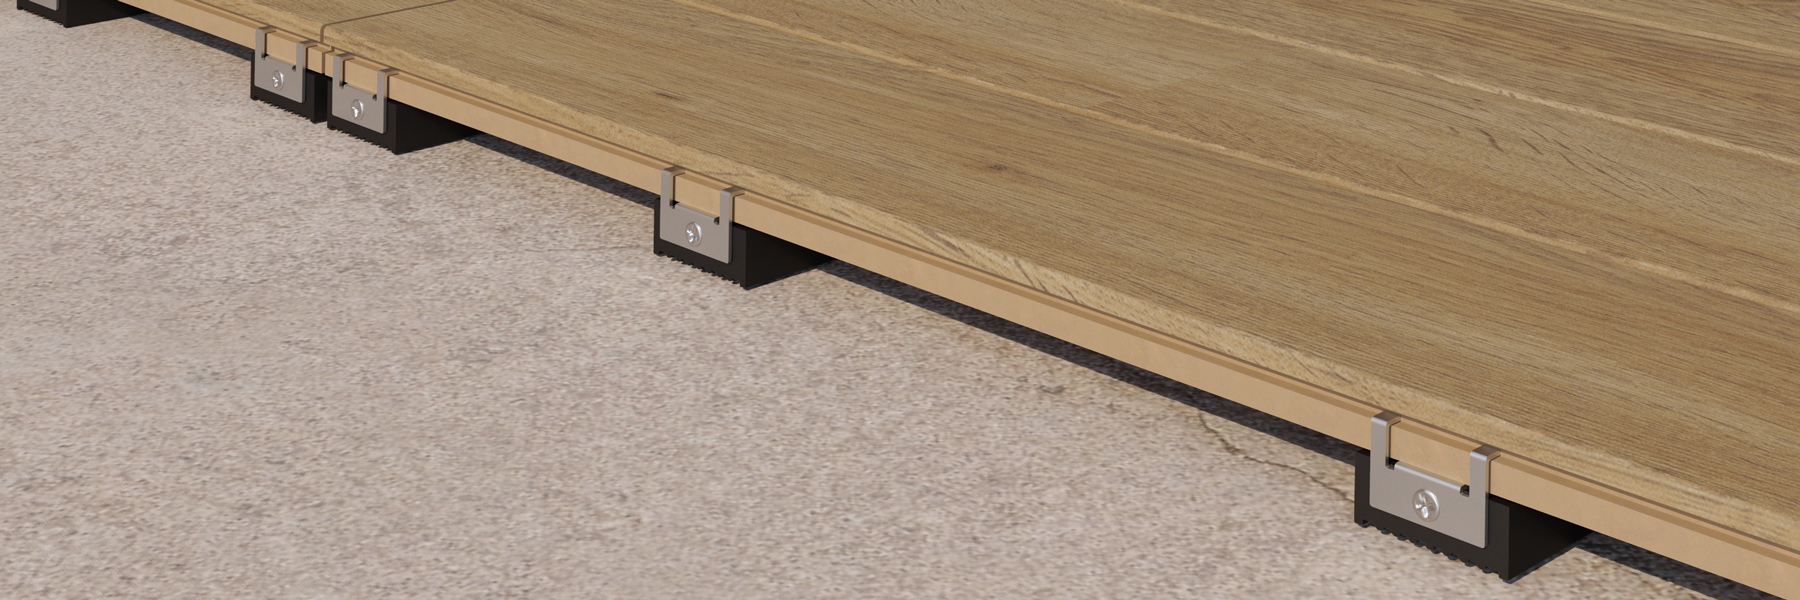
Planks must be fixed to the joists using these clips and screws, always placing one clip on each joist.
Place the clip inside the groove of the plank, centred over the joist, and screw it in perpendicular to the joist. Make sure the clip does not move during screwing.
Once the clip is positioned on the joist, the plank must be pressed into place over the clip. Use a rubber mallet, tapping gently on the plank edge until it is fully seated on the clip.
The ETERNA GEODECK system includes an integrated mechanical stop designed to automatically provide a 3 mm gap between planks.
At end joints, two joists must be used, installing one clip on each side of the joint—four clips per joint in total—to ensure a stable connection.
To finish the installation, use the end clip on the last plank.

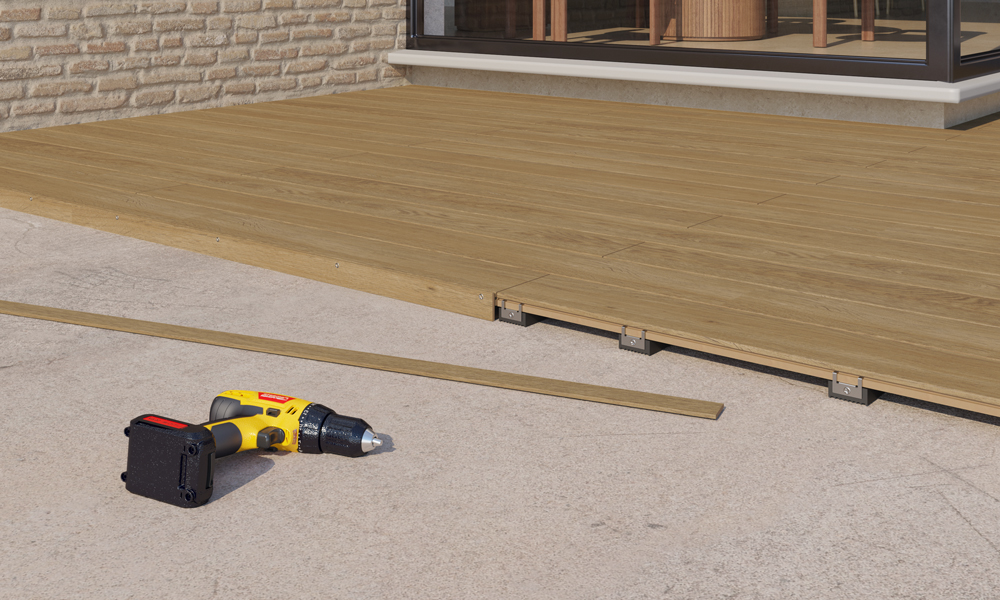
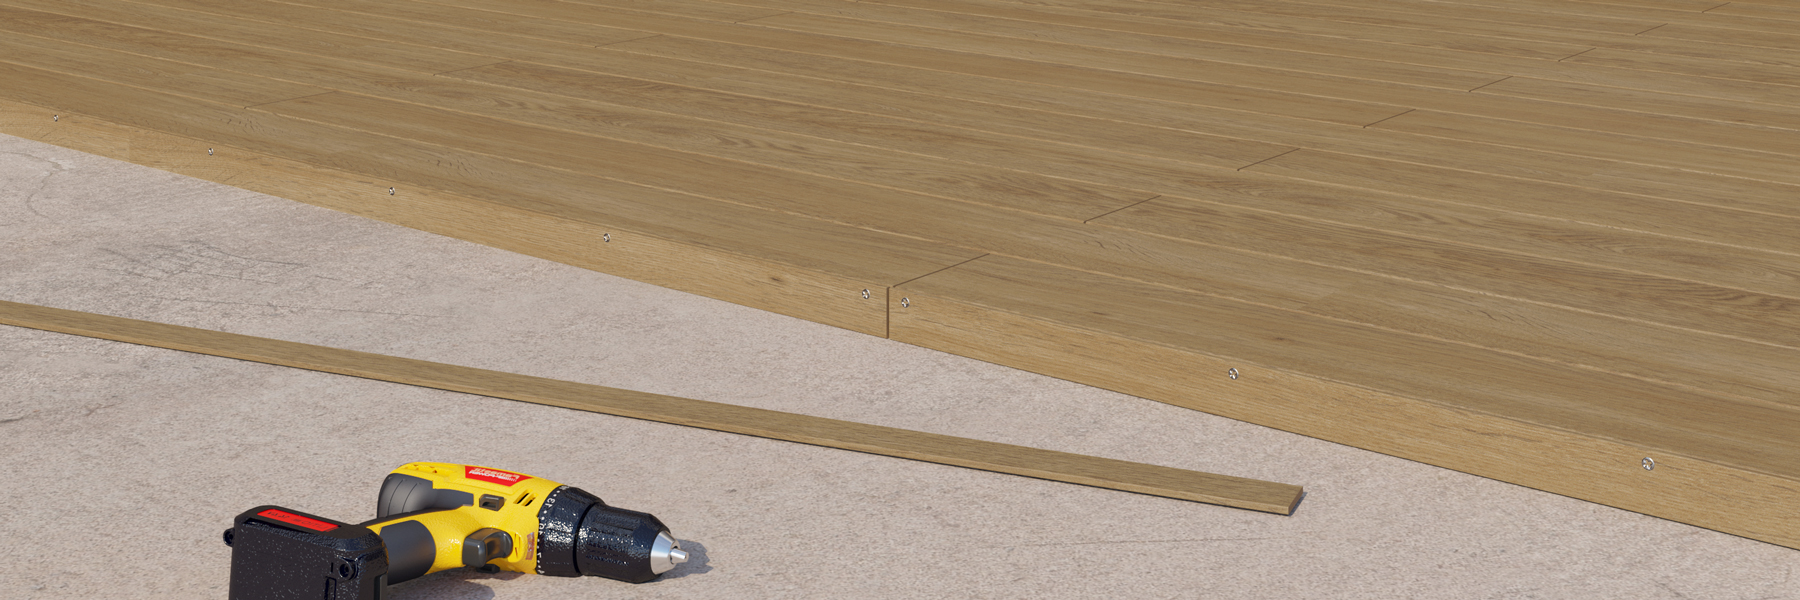
5 - Finishing and trims
Once the planks have been installed, the perimeter trim—manufactured in a 2,200 × 70 × 12 mm format—can be fitted around the edges of the installation.
This trim can be curved to adapt to non-straight perimeters.
Measure the height at several points and cut the trim moulding lengthwise when necessary to achieve a perfect finish.
The top of the trim must be flush with the decking surface. Leave 5 mm between the end of the decking and the trim, and also 5 mm between trim joints to allow for expansion.
For fixing, use AISI 304 stainless-steel screws (AISI 316 in marine environments), Ø 3.5 × 25 mm with countersunk head, placed approximately every 30–40 cm.
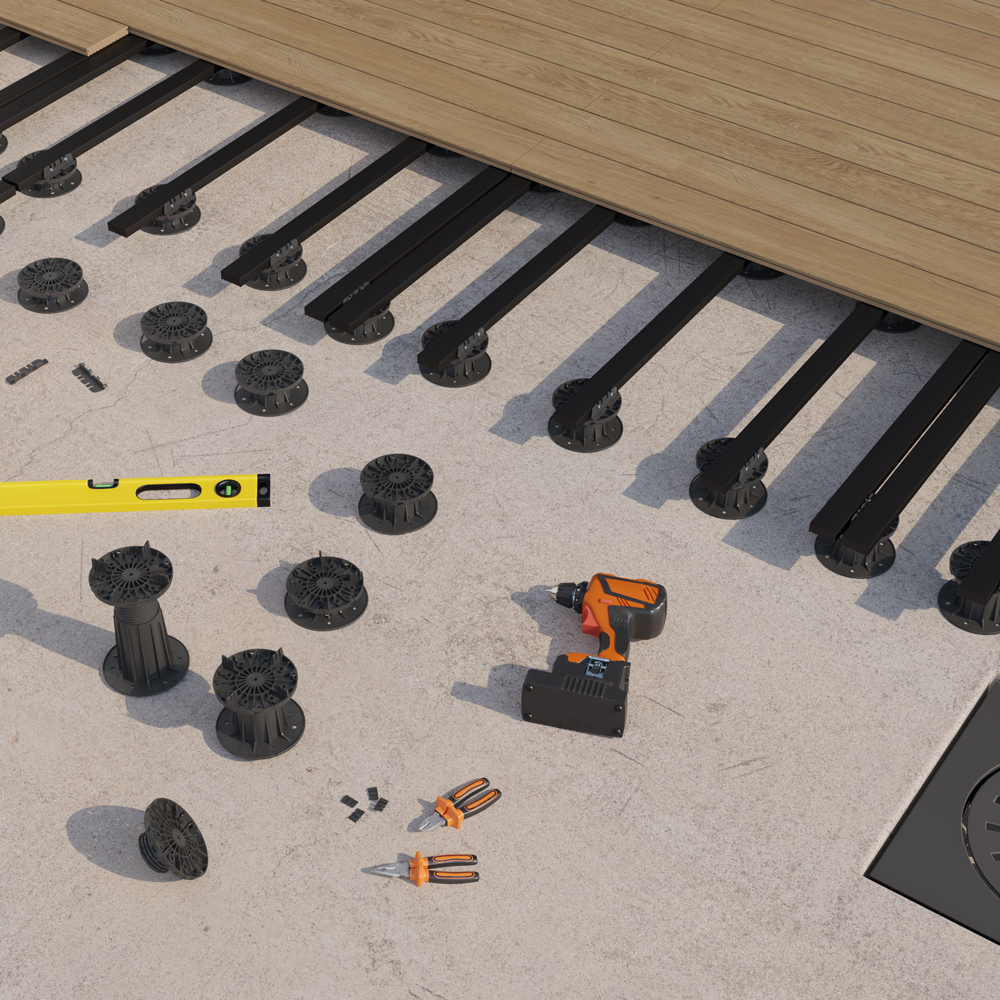
6 - Installation with adjustable pedestals
The 50 × 30 mm PVC joist must always be firmly fixed to the pedestal to prevent movement and ensure system stability.
The fixing method depends on the pedestal manufacturer and may be carried out using:
• a screw directly into the pedestal head,
• tabs or clamps integrated into the pedestal itself,
• or joist-specific adapters.
When screw fixing is required, use AISI 304 stainless-steel screws (AISI 316 in marine environments), Ø 3.5 × 25 mm—ensuring a secure hold without piercing through the 30 mm-high joist.
Pedestals must be positioned so that the solid 50 × 30 mm PVC joist is firmly supported with no possibility of bending.
Maximum longitudinal spacing between pedestals (centre-to-centre): 35 cm to ensure joist stability in any type of installation.
The transverse spacing between joists—required for correct plank support and clip fixing—must be the same as for slab installation:
• 30 cm centre-to-centre for residential installations.
• 25 cm centre-to-centre for commercial or high-traffic installations.
A minimum slope of 2% must be maintained to ensure correct water drainage and prevent ponding, as well as continuous underside ventilation.
Installing planks on joists mounted on pedestals is done in the same way as standard installation: starter clip → hidden clips on each joist → end clip.
7 - Cleaning and maintenance
Initial cleaning: water + soft brush.
Routine cleaning: water + mild soap.
A pressure washer is permitted at ≤ 120 bar, keeping a minimum distance of 30 cm.
Do not use solvents, abrasive products, or chlorine-based products.
For snow or ice, use a plastic shovel—never a metal one.
8 - Advantages vs. composites
No initial colour loss.
Minimal expansion.
No additional maintenance.
Resistant to stains, mold, and abrasion.